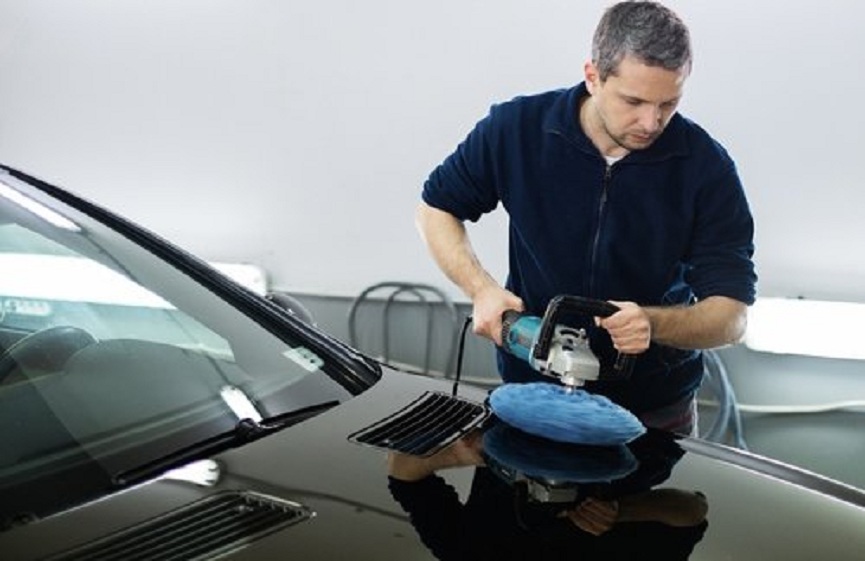
The basic guide to machine polishing
LEARN THE BASICS AND CONTINUE TO MASTER YOUR PAINT CORRECTION SKILLS
Machine polishing is often considered the dark side of detailing, or at least a dark art. But, while it’s true that this is where many professional detailers really make their living, that doesn’t mean you can’t learn the process and see amazing results almost instantly. It’s also not as complicated as many think. With the right products and a bit of practice, we strongly believe that anyone can learn the fundamental skills to go on and fully master the art. But, before all that of course, you have to know the basics, and that’s where we come in…
FIRST OF ALL, WHAT IS POLISHING?
You could say that there are different forms of what can be called “polishing”. You may have already described them as cutting, refining, restoring, preparing, or a number of other names and subcategories. remember though that, at a very basic level, all of these terms mean the same thing.
Polishing, whether by hand or machine on paints or even glossy plastics, is simply the mechanical (or physical) removal of defects by surface abrasion. This in turn smooths out the flaws creating a flatter surface. It also bounces the light in a more even direction, leveling the optical finish, making the surface look deeper and shinier. Polishing, then, is a bit like scrubbing cars!
What distinguishes, for example, cutting and curing from each other is the intensity of the products used for the desired result. A coarse cutting compound, for example, will be more abrasive and remove more surface material faster. Whereas a finer finishing compound or polish will have a much less aggressive level of cut and will be designed to smooth the surface on an even more microscopic level, inflicting scratches so tiny they simply cannot be seen.
Think of it like sanding a block of wood. Coarse sandpaper will quickly remove a large amount of material, but leave a noticeably unrefined finish. Follow-up with varying degrees of finer sandpaper smoothes the surface to a level that’s pleasant to the touch and pleasing to the eye. It’s the exact same idea when polishing paint, just on a more infinitesimal level.
So the real questions here are: how intense should the polishing be? And how much of the surface layer do you need to remove? Well, it’s directly proportional to what flaws you’re trying to fix in what type of paint.
TYPES OF PAINT
Over the years, the type of paint applied to cars has varied considerably, mainly due to new technologies, as well as health and safety regulations for paint application. The use of poisons like cyanide in paint used to be more common, along with a whole host of other poisonous ingredients,
The good news is that we don’t need to know what it’s made of to polish it, nor do we need to know if it’s an air tint paint or uses a separate hardener to harden. What’s particularly important here is that, for the most part, your painting will fall into one of two categories…
ONE-STEP PAINTING
Classic and vintage vehicles tend to have one-step paint, which gets its name from the fact that it can (but not always) be applied in one step. Basically, this type of paint only consists of the color pigment layer (base coat), which is applied to the panel over a primer coat. The resulting cross section looks like metal – primer – color coat.
With that in mind, when you machine buff a one-step paint job, you’re actually abrading the top layer of the color coat, which is why you may notice pigments being transferred onto your compound and pad . Unless that color is the primer, of course, that doesn’t mean you burned. On two-step painting, however, it’s a very different story.
TWO-STEP PAINTING
Almost all cars since the mid-1980s have used two-stage paint. This means that the paint (above the primer coat) is applied in two stages – the colored base coat, followed by a protective varnish (lacquer).
So, with that in mind, two-step painting means you’re not touching the color pigment at all, just the polish. It can be compared to looking out of a window. When polishing the varnish, you’re essentially cleaning up any flaws in the glass to give it more clarity, providing a much better view of what’s on the other side.
While it’s always harder than a basecoat, the toughness of your lacquer will also vary from brand to brand (and even car to car) and, the harder the clearcoat, the harder it is to polish. In some cases, the discrepancy may simply be due to the location of the manufacturer and the national market. German cars, for example,
Unless you’re a professional detailer also dealing with a lot of different cars, it’s extremely likely that any car you detail will be relatively modern and fall into the two-stage paint category.
HOW FAR CAN YOU POLISH?
Paint thickness is measured in microns, and again varies from manufacturer to manufacturer. It’s also true to say that one-step paint tends to be thinner (and softer), but on average two-step OEM paint will be around 100-140 microns thick. These are the primer coat (12-40 microns)
As you can imagine, task number one is to make sure there is enough coat to polish – one of the reasons why professional detailers use paint depth gauges, especially when they are do not know the history of the vehicle.
The other reason is that many cars have had touch-ups and repainted panels thanks to ongoing repairs, indicated by unusually thick readings on the gauge.